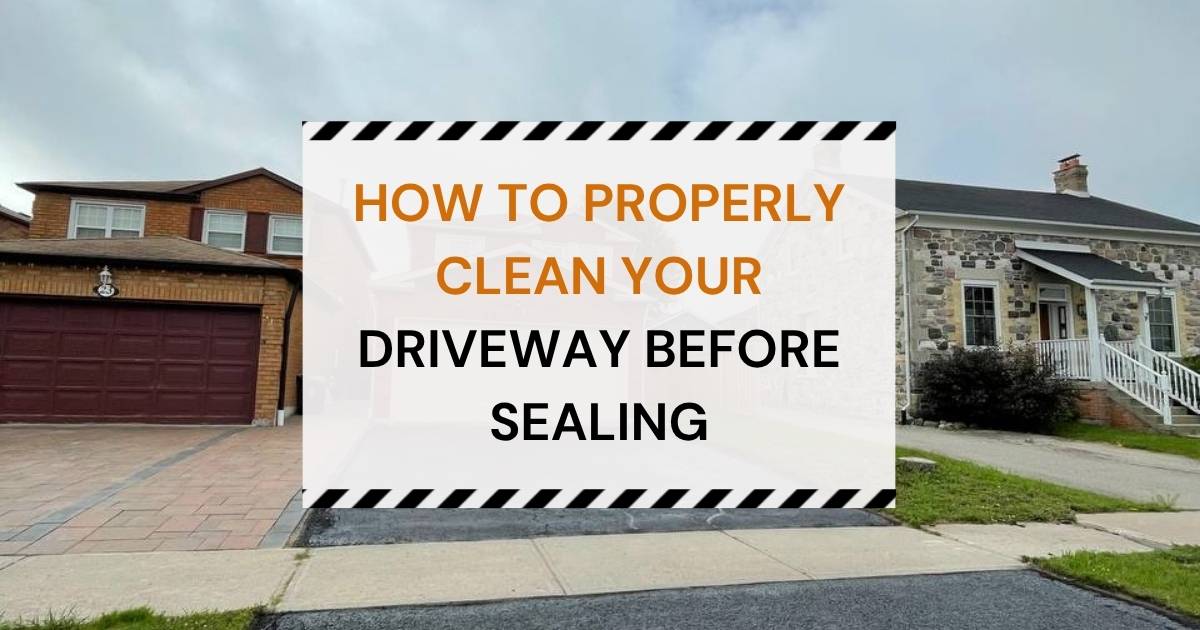
If you’re planning to seal your asphalt driveway, don’t skip the most important step, cleaning. You can use the best sealer on the market, but if your driveway isn’t properly cleaned beforehand, the results won’t last. At Action Paving, we’ve seen it all: flaking sealant, bubbling patches, and sealcoat that peels off in weeks, all because of poor prep and not cleaning the driveway.
A clean driveway is the foundation of a smooth, durable, long-lasting seal. Whether you’re sealing it yourself or hiring professionals for driveway sealing services, here’s how to get it perfectly clean before sealing.
1. Start by Removing Loose Debris and Vegetation
Asphalt acts like a magnet for dirt, sand, leaves, and weeds. If you don’t remove all of it before sealing, the sealant won’t adhere evenly, and that causes premature failure.
Tools That Help:
- Hard bristle broom or push broom
- Weed scraper or hand trowel
- Leaf rake and garden shears
Focus especially on the edges of the driveway and any cracks where vegetation likes to take root. Pull weeds up by the root or use a crack tool to dig them out. Don’t rely on just cutting them, even small roots left behind can lead to bumps and cracks later on.
In cities like Niagara Falls, St. Catharines, and Hamilton, we often see moss and weeds growing in shaded or damp driveways. Those areas need extra attention, they hold moisture and lead to sealant failure if not thoroughly cleaned.
2. Deep Clean the Surface, Especially Oil Stains and Tire Marks
Even after sweeping and pulling weeds, most driveways still have stains. Look for:
- Old oil spots
- Transmission fluid stains
- Rust
- Tire scuffs
These can block the sealer from sticking properly. You’ll need to scrub the surface thoroughly.
What to Use:
- A degreaser or asphalt-safe cleaner
- Long-handled scrub brush or stiff broom
- Warm water
Apply the degreaser directly on stains, let it sit for 10–15 minutes, then scrub in circular motions. Rinse with water and repeat if needed. For driveways that have never been sealed, this step is critical. Oil and grease will cause sealant to flake off in sheets if left untreated.
Pressure Wash or Not?
If you have heavy buildup or deeply embedded grime, a pressure wash for asphalt is a great option, but be cautious. Use a wide-angle tip and keep it moving so you don’t erode the asphalt surface. Never pressure wash right before sealing. Your driveway must dry completely before the sealant is applied.

3. Blow Away Dust, Sand, and Fine Debris
Once the major cleaning is done, use a leaf blower to remove the fine particles left behind. This is the step most DIY jobs skip, but it’s crucial. Even invisible layers of dust or leftover sand can cause uneven bonding and a splotchy finish.
Blow across the entire surface, including into the cracks. You want your driveway to be 100% dust-free before sealing.
5. Clean Out Every Crack, Even the Small Ones
Cracks may look harmless, but they collect dirt, moss, and debris over time. Before sealing, they need to be completely cleaned out, especially if you plan on repairing asphalt cracks in driveways.
What to Use:
- Crack cleaning tool or flathead screwdriver
- Wire brush or crack brush
- Shop vac or high-powered blower
After scraping and brushing, vacuum the crack out if possible. This ensures the filler and sealer go deep into the crack and bond correctly. Leaving dust behind here is one of the biggest reasons sealant fails prematurely.
6. Wait for Full Drying Time
If you’ve used any water at all, from rinsing or pressure washing, your driveway needs to fully dry before sealing. Moisture trapped under sealant causes peeling, bubbling, or staining.
On a sunny day, 24–48 hours of dry weather is typically enough. Avoid sealing if rain is in the forecast within that time window. This step is even more important in cooler or shaded areas like Oakville or Welland, where drying can take longer.
7. Final Inspection Before Sealing
Before applying sealant, walk the entire driveway. Run your hand over the surface; it should feel dry, clean, and slightly rough. If it feels oily, dusty, or damp in any areas, go back and clean those spots again.
Even small patches of dust or oil can cause the sealant to fail locally. Your goal is a completely clean, dry, and debris-free surface across every inch.

Quick Checklist: Clean Driveway Prep for Sealing
Step |
What to Do |
Why It Matters |
| Remove debris | Sweep and pull weeds | Prevents bumps, gaps, and sealant gaps |
| Scrub surface | Clean oil and stains | Ensures sealant bonds correctly |
| Blow out dust | Use a leaf blower | Stops sealant peeling and streaking |
| Clean cracks | Brush and vacuum | Allows proper crack filler and sealing |
| Let it dry | Wait 24–48 hours | Prevents moisture from ruining adhesion |
Don’t Cut Corners on Cleaning Your Driveway
Sealing your driveway is a smart investment, but skipping the cleaning is like painting over dirt. It might look okay for a few weeks, but the results won’t last.
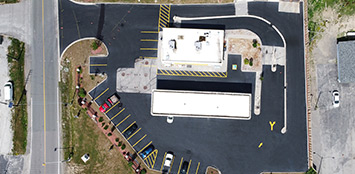
At Action Paving, we take every step seriously. Our clean driveway process includes debris removal, power sweeping, edge trimming, oil priming, and crack prep, all before we lay down the first drop of sealer. That’s why our seal jobs look better and last longer.
Ready to Seal? Make Sure Your Driveway is Ready First
The difference between a sealcoat that lasts 2 years and one that lasts 5? Preparation. A properly cleaned driveway gives your sealant the best chance to perform, and protects your asphalt from water, salt, UV, and damage all year long.
If you’re unsure whether your driveway is ready for sealing, get in touch with Action Paving. We’ll assess your surface and get it cleaned and sealed the right way, no shortcuts, just results.