
Cracks in an asphalt driveway don’t just look bad, they open the door to serious damage. Water penetration, freeze-thaw cycles, and UV exposure will only make them worse. The key to preserving your driveway’s structural integrity and curb appeal is knowing how to fill cracks in the driveway properly before sealing. This guide walks through every detail, step by step, giving real homeowners and property managers the tools to take control of their asphalt surface and protect it for years.
We’ve filled thousands of driveways across Ontario and have seen everything from hairline cracks to full-width gaps caused by water damage and poor drainage. Knowing how to repair driveway cracks before sealing gives the surface a second life and saves thousands in premature repaving costs.
Let’s get into it.
Why Filling Cracks Matters Before Sealing
Asphalt is durable, but it’s not invincible. When cracks are left untreated, moisture seeps in, especially during winter. The freeze-thaw cycle expands those cracks. If you seal over them without filling, the sealant can’t bond properly. Instead, it traps moisture and allows the cracks to worsen from beneath.
Sealing should always be the last step in maintenance, not the first. A smooth, filled surface helps the sealer adhere, protects against further cracking, and gives your driveway that fresh, flawless look.
What Causes Cracks in Asphalt Driveways?
Understanding what causes them can help prevent recurring problems later down the line:
- Temperature Changes: Expansion and contraction from seasonal shifts
- Water Damage: Moisture infiltration, especially during freeze-thaw cycles
- Heavy Loads: Large trucks or parked trailers can cause stress cracks
- Aging Asphalt: Over time, asphalt becomes brittle and prone to cracking
- Subbase Failure: Poor compaction or erosion beneath the surface
- Tree Roots: Especially near driveways in suburban or rural properties
If cracks are forming every year, it’s time to assess your drainage and slope as well.

Types of Driveway Cracks to Identify
Before learning how to fill cracks in the driveway, it’s important to understand the different types of asphalt cracks you’re dealing with:
- Hairline Cracks: Very fine and shallow, often from sun damage
- Edge Cracks: Along the perimeter, typically from poor drainage or shifting soil
- Alligator Cracking: Resembles a web or scale pattern, usually indicates structural failure
- Wide or Deep Cracks: Larger than ¼ inch wide or ½ inch deep; may require special filler or multiple passes
Different cracks require different materials and methods. You can’t treat them all the same if you want long-lasting results.
If you have noticed cracks forming across your parking lot, give us a call to book crack filling services for parking lots!
How to Fill Cracks in Driveway: Step-by-Step
Step 1: Examine and Assess the Cracks
Walk the whole driveway and examine thoroughly. Note the nature, size, and width of every crack. Mark the ones that need repair with chalk or tape. Take particular note of areas around the garage, sidewalks, or drains where water will pool. If the cracks are more than 1 inch in width or are near sinkholes, consider calling a professional.
Step 2: Thoroughly Clean the Cracks
No adhesive will work if the cracks are filled with dirt, roots, or sand. Remove all loose material with a wire brush. If there is moss or vegetation, cut it out completely; roots left behind can continue to sprout. Blow everything out with a leaf blower or high-pressure air compressor. The goal is a dry, dust-free crack all the way to the bottom.
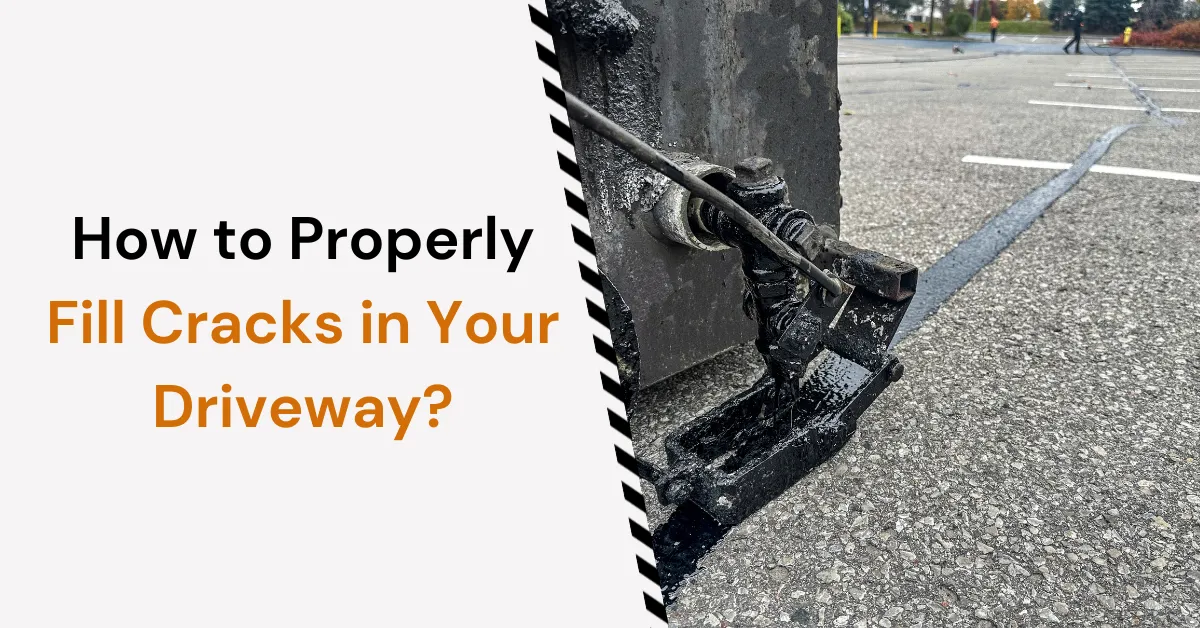
Step 3: Choose the Right Crack Filler
For minor cracks (less than ½ inch in width), a cold-pour filler from a bottle or tube of caulk is adequate. For more extensive cracks, hot-pour rubberized filler is preferable, it stretches with the asphalt and seals further. Avoid filling asphalt with concrete filler; it won’t adhere and will crack off in months. Asphalt-specific products alone should be used.
Step 4: Fill Cracks from Bottom Up
Squeeze or pour the filler into the crack slowly. Use the nozzle to direct the flow and prevent air bubbles. Overfilling is better than underfilling, you’ll smooth it out in the next step.
For large cracks, fill halfway, let it settle, then come back with a second pass. Use a trowel or putty knife to push the filler into place and level the surface even with the rest of the driveway.
Step 5: Allow Sufficient Curing Time
Most cold-pour fillers take between 12 and 48 hours to cure completely, depending on temperature and humidity, while hot-pour types tend to set faster but still take 24 hours to seal. Don’t walk or drive on the surface during this time. And don’t rush into sealing before the filler is fully hardened, it will ruin the finish and compromise adhesion.
Step 6: Apply Driveway Sealer
Once the filler has fully cured, you’re ready for asphalt sealing. Apply the sealer in thin, even coats using a squeegee or sprayer. Work in small sections and overlap passes slightly for full coverage. Sealing after proper crack repair adds greatly to the life of the driveway, often adding 3–5 years before reapplication will be required.

Common Mistakes to Avoid
- Skipping cleaning: Filler won’t bond to debris or moisture.
- Wrong filler type: Using concrete or latex filler will crack again quickly.
- Not checking the weather: Rain during curing ruins the bond.
- Overfilling deep cracks in one go: Always fill in layers if needed.
- Sealing too soon: Wait for the filler to cure completely.
How Long Will Crack Repair Last?
The majority of quality cold-pour fillers will last 12–18 months. Hot-pour ones will last 3 years. But weather, traffic, and maintenance play a big role. Oakville, Burlington, or Hamilton driveways see more severe freeze-thaw cycles than downtown Toronto, so annual inspections are necessary.
Long-Term Maintenance After Crack Filling and Sealing
- Check Annually: Check in spring and fall for new cracks or wear.
- Keep It Clean: Regularly clear out leaves, debris, and snow buildup.
- Seal Every 2–3 Years: Occasional sealing keeps out water penetration and oxidation.
- Fix Small Cracks Early: Don’t wait, early repair saves thousands later.
When to Call in Professionals For Filling Cracks
It takes only knowing how to effectively fill cracks in the driveway to make the difference between a short-term fix and a long-lasting repair. Properly done, you’re extending the lifespan of your driveway, you’re protecting your investment, and you’re keeping your property’s crisp appearance. The combination of proper crack filling and high-quality sealing is the best protection against Ontario’s harsh weather, and the best way to avoid costly repairs down the line. We do them all from driveways in residential areas to parking lots in commercial zones, with the right materials, timing, and care to provide your asphalt with the seal coat it needs. For professional, reliable driveway repairs and sealing, Asphalt Sealing has the equipment and expertise to keep your surface looking its best, year after year.