
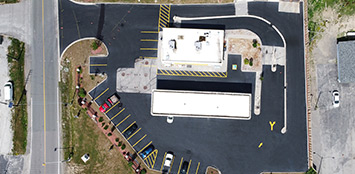
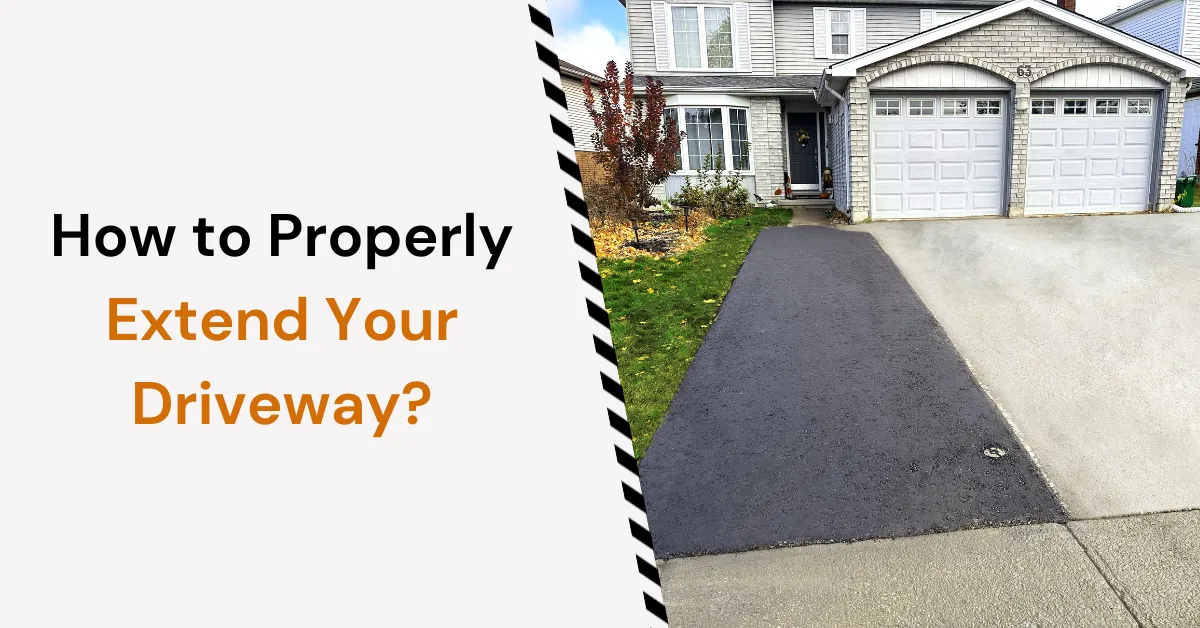
Extending your driveway is one of the most practical ways to improve your property’s functionality and make room for additional vehicles. Whether you need more space for parking, want to reduce street clutter, or are planning ahead for family changes, extending your driveway can offer both convenience and a cleaner curb appeal.
But there’s more to it than just laying down new pavement. In Ontario, extensions are regulated by local bylaws and involve several important steps. From securing the proper permits to choosing the right materials, here’s how to properly extend your driveway without headaches or hassles.
1. Understand the Regulations Before Extending Your Driveway
Check with Your Municipality First
Before you pick up a shovel or call a contractor, the first step is to research local driveway bylaws. In many areas across the Greater Toronto Area, extending a driveway requires approval from the city. A permit may cost up to $2,000, depending on your municipality and the scope of the project.
Zoning regulations typically govern:
- How wide can your driveway be
- How close can it be to sidewalks, property lines, and public roads
- What materials are allowed
Why Permits Matter for Extensions
Skipping the permit process can lead to penalties, forced removal of the extension, or failed property inspections in the future. Municipalities may require:
- A formal permit application
- Site or grading plans
- Proof that the extension won’t disrupt drainage or city infrastructure
Where to Start
Visit your city’s website or contact the municipal office to review driveway extension requirements. If you’re in a residential area of the GTA, this step is essential to staying compliant.
2. Don’t Dig Until You’ve Booked a Utility Locate
What is a Utility Locate and Why is It Required?
Driveways often cross over buried utilities like water pipes, gas lines, and electrical cables. Hitting one during excavation can be dangerous, expensive, and illegal. In Ontario, all property owners are required to contact Ontario One Call before digging.
How to Schedule a Locate
- Call or go online to request a locate at least five business days in advance
- Technicians will come to your property and mark underground utility lines
- These markings will guide excavation and protect you from accidents
This step is legally required before any digging begins, don’t skip it.

3. Plan Your Extension Thoughtfully
Consider the Purpose and Placement
Start by evaluating what you need:
- Are you adding space for a second vehicle?
- Will the extension run along the side of the house or widen the existing driveway?
Placement must follow local rules regarding distance from curbs, fences, and sidewalks.
Choose the Right Driveway Surface Material
When it comes to materials, matching your existing driveway ensures visual consistency. The most common options include:
Asphalt: Durable, flexible, and ideal for Canadian weather. It’s quick to install and blends well with existing surfaces.
Concrete: Long-lasting and low maintenance. Offers a clean, modern look but requires proper curing.
Interlocking Pavers: Stylish, modular, and excellent for water drainage. Pavers can be customized in design and are easy to repair section by section.
Think About Drainage and Grading
Drainage is a critical factor. Your extension must not interfere with water flow, push water toward the foundation, or cause pooling. A slight slope or drainage channel may be necessary to direct water away from structures.
4. Prepare the Site for the New Driveway Section
Step 1: Remove Surface Material
Remove grass, topsoil, or any existing landscaping where the extension will be installed. The area must be cleared to a depth appropriate for the material being used.
Step 2: Compact and Stabilize the Base
A well-prepared base layer is essential. This usually includes:
- Crushed stone or gravel
- Mechanical compaction to prevent settling
- Proper edge support to maintain the shape of the extension
Neglecting this step can lead to sinking, cracking, and surface failure within a year or two.
5. Install the New Driveway Surface
Once the base is compacted and level, the surface material is added.
Asphalt Installation
Hot asphalt is poured and spread evenly over the base, then compacted with rollers. It bonds with the existing driveway and offers a seamless look when done properly.
Concrete Installation
Concrete is poured into framed edges, smoothed, and levelled. Control joints are added to minimize cracking. It requires a curing time before being ready for vehicles.
Interlock Paver Installation
Pavers are installed over a layer of sand, fitted together tightly, and compacted. The result is a high-end appearance with great drainage properties.
Consider Sealing the Surface After Installation
While not mandatory, sealing your driveway helps protect it from:
- Oil and chemical spills
- Water infiltration
- Freeze-thaw damage
- UV-related fading
Sealing also helps blend new work with older sections for a consistent finish, especially on asphalt driveways.
Final Inspections and Project Wrap-Up
Depending on your city’s requirements, a final inspection may be necessary to approve the completed work. This ensures everything was built according to the submitted plans and complies with local standards.
Tips for a Successful Driveway Extension Project
Plan Early
Permits, inspections, and locates take time. Start the planning process well in advance of your desired start date, especially during the busy spring and summer months.
Work with Experienced Contractors
While it’s possible to manage the process yourself, working with a professional paving company can help ensure:
- Proper adherence to bylaws
- Correct excavation and grading
- Long-term durability of the new surface
An experienced team will also handle paperwork, coordinate locates, and avoid costly mistakes.
Start Your Driveway Extending Project the Right Way
Extending your driveway adds convenience, improves daily function, and boosts property appeal. But it’s not just about adding more pavement, it’s about doing it properly, safely, and in line with city requirements.
Our asphalt paving contractors guide homeowners in the Greater Toronto Area through every step of the process, from permits to finished surface. Whether you’re planning a side extension, widening your current driveway, or upgrading materials, we’re here to help make the process smooth and stress-free.