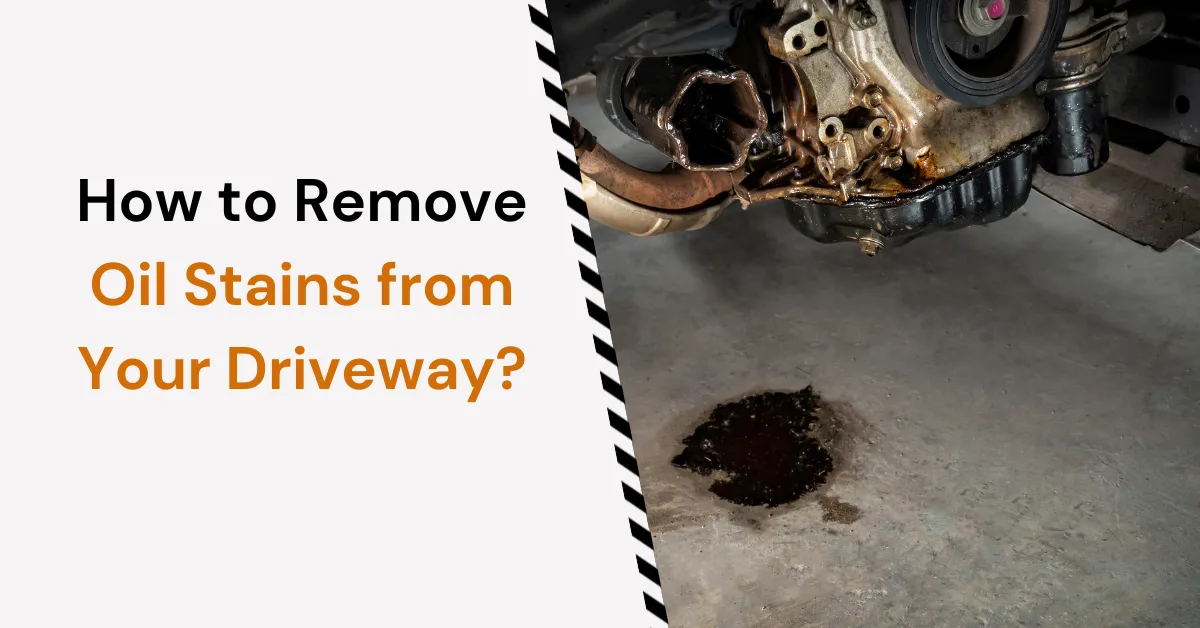
If you’re dealing with dark, stubborn spots on your asphalt, you’re probably wondering how to remove oil stains from your driveway without damaging the surface. Oil stains are more than just an eyesore, they can break down your asphalt and lead to serious, expensive repairs.
We’ve seen it all at Action Paving when it comes to stained driveways. The good news? Most oil spots can be removed with the right approach. Are you a DIY enthusiast, or are you thinking about calling in the experts? Here’s what you need to know about removing oil stains from your driveway and how to keep them from coming back.
Step-by-Step: How to Remove Oil Stains from Driveway Pavement
Oil doesn’t just sit on top of your asphalt. It infiltrates the surface, slowly breaking down the binders that keep your driveway intact. Over time, those soft spots can create cracks, disintegration, and potholes, especially with the freeze-thaw cycles we get in Canada.
So while it might seem like a cosmetic issue at first, an unchecked oil stain can cause real damage if left unattended. You should remove oil stains from driveway surfaces as soon as you notice them.
Step 1: Soak Up the Oil, Quickly
If you catch the spill early, you’re ahead of the game.
Start by grabbing something absorbent, cat litter, baking soda, or sawdust, all work well. Pour it directly on the stain and give it a few hours to soak. If you’ve got time, let it sit overnight.
Once it’s done its job, sweep it up and toss it. You might need to repeat this once or twice, depending on how much oil you’re dealing with.
Tip: Don’t skip this step. If you try to clean or scrub right away, you’ll end up just pushing the oil deeper.

Step 2: Remove What’s Left on the Surface
After you’ve soaked up what you can, the next step is prepping the area.
Scrape off any remaining surface oil with a hard brush or a plastic scraper. Now, if you wish, you can use a degreaser, make sure it’s asphalt-friendly, as some harsh chemicals will do more damage than good.
This makes the oil that has started sticking but not penetrated too far rise up and then get washed away when it rains, so it doesn’t leave as much residue and readies the surface for the next step.
Step 3: Deep Treatment (This Is Where the Pros Come In)
Older or persistent stains need more than surface cleaning. That’s where professional treatment comes in and truly excels.
We use controlled heat from a gas torch at Action Paving to evaporate any remaining oil that’s seeped into the surface of the asphalt. It’s a gentle process; too much heat ruins the driveway. But done properly, it eliminates the remaining oil and prepares the area for sealing.
Note: This is not a DIY step. Unless you’re highly experienced with asphalt and heat treatment, it’s safer (and usually cheaper) to let a professional do it.
Step 4: Seal the Area to Finish and Protect
Once the stain is fully treated, it’s a good idea to seal the area. We use a heavy-duty, oil-based asphalt sealant that does two things:
- Restores the look of your driveway
- Protects the surface from damage in the future
Sealing also helps bind any weakened areas and prevents water from seeping in, which is especially important in cold-weather regions where freeze-thaw cycles can cause even more cracking.
What If Your Driveway Has Cracks?
If oil has already damaged your driveway or is starting to show signs of age, you’ll want to fix those cracks before sealing.
Small cracks might not seem like a big deal now, but once water and oil get into them, things can go downhill fast.
We offer professional driveway repairs that can be done alongside stain removal. It’s a smart move if you want your driveway to last longer and avoid bigger repair bills down the road.
Can You Remove Oil Stains from Driveway Yourself?
Short answer: yes, but only to a point.
If you catch the stain quickly and the oil hasn’t soaked in too deeply, DIY methods can definitely lighten it. But if it’s been sitting there a while or keeps coming back, it’s time to call in a professional.
We’ve worked on driveways where people tried every store-bought cleaner under the sun, and all it did was smear the oil around or make the stain worse. Trust us: Sometimes it’s worth getting expert help the first time.
Tips for Preventing Future Oil Stains
The best way to deal with oil stains is to not get them in the first place. Here are a few things you can do to protect your driveway:
- Use a drip mat under your car if it’s leaking oil
- Fix engine leaks quickly before they cause bigger problems
- Seal your driveway every 2–3 years to create a protective barrier
- Clean spills right away before they have time to soak in
These small habits go a long way toward keeping your driveway looking great.
Why Homeowners Trust Professionals To Remove Oil Stains from Driveway
We’re not a franchise or a fly-by-night company. We’re a local team that’s been helping homeowners across Ontario with asphalt sealing, oil stain removal, and driveway repairs for years.
We believe in honest work, clear communication, and results that speak for themselves. Whether you need a quick fix or full driveway maintenance, we’ve got your back.