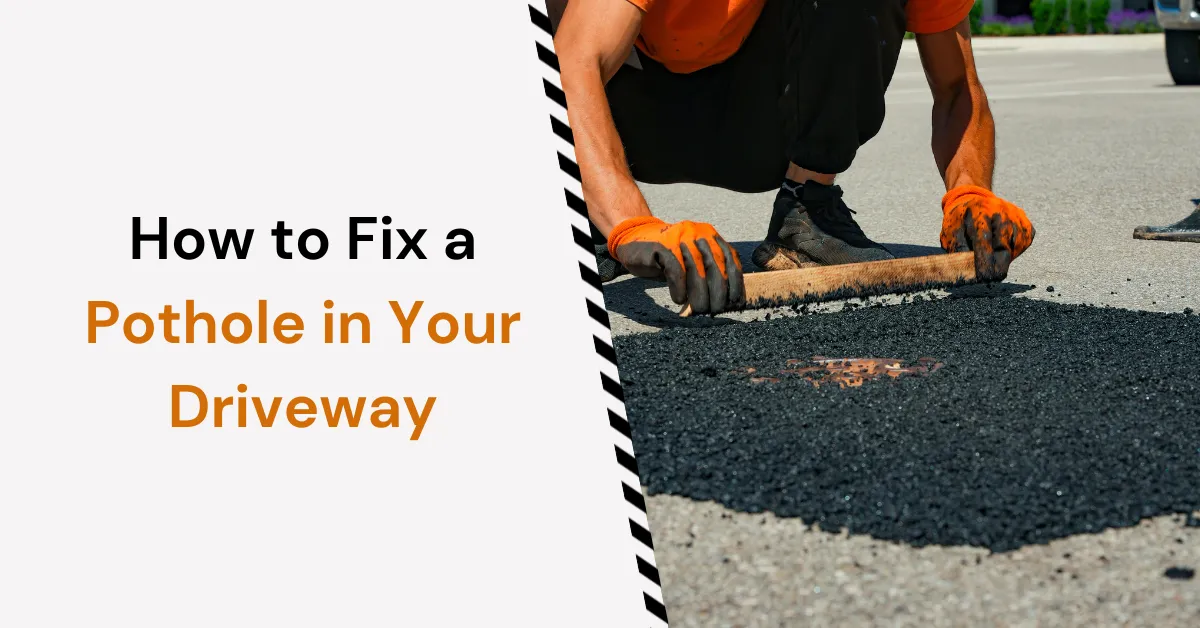
That eyesore in your driveway is not just a headache, it’s a hazard that can become much worse very fast if not fixed. Potholes occur when water seeps into cracks, freezes, and expands, ripping the asphalt apart. Traffic pressure over time creates damage larger and deeper. Whether you’re a seasoned DIYer or tackling your first repair, knowing how to fix pothole driveway issues properly ensures a durable surface. Fixing potholes early saves your driveway, prevents further costly repairs, and keeps your home’s curb appeal.
Learning to repair a driveway pothole yourself can save you time and money. If you wish to do the work yourself or simply want to know what is involved before contracting our professional asphalt contractors, this guide contains everything you need for a smooth, long-lasting repair.
Why Repair Potholes Early?
Potholes provide an entry point for water to penetrate the asphalt surface and base course, leading to additional cracks and deterioration. The freeze-thaw cycle, especially in Canadian climatic conditions like those in Ontario, accelerates this deterioration. Waiting too long to repair a pothole can lead to:
- Deeper, larger holes
- Structural failure of your base driveway
- Pooling and drainage issues
- Increased risk of car damage or injury
By having it fixed quickly, you keep your driveway in good condition longer and delay the necessity for extensive repaving work.
Materials and Tools Needed
Before you start, gather the right materials and tools. Proper preparation makes the repair easier and longer-lasting.
Tool or Material |
Purpose |
| Broom | To remove loose debris and dirt |
| Leaf blower | Clears out fine dust and smaller particles |
| Painter’s tape (optional) | Protects nearby surfaces from asphalt spills |
| Asphalt repair bags | Pre-mixed patching material designed for driveway repair |
| 2×4 piece of wood | For spreading and levelling the asphalt |
| Flame torch | Softens asphalt for easier manipulation and binding |
| Hand tamper | Compact asphalt for a solid, durable finish |
| Small gasoline can | Prevents tamper from sticking (used cautiously) |
| Gloves or a rag | For safety and spreading gasoline evenly |
Using quality materials and proper tools ensures your repair holds up against weather and traffic.
Step-by-Step Guide to Fixing Pothole Driveway Problems
Step 1: Clean the Area Thoroughly
Start by removing everything loose inside and around the pothole. Sweep away dirt, dust, weeds, and gravel with a broom. Follow this by blowing out remaining fine debris with a leaf blower. The cleaner the surface, the better the new asphalt bonds.
If you’re working near landscaping, concrete, or painted surfaces, use painter’s tape to protect them from accidental spills or burns when handling hot materials or the flame torch.
Step 2: Prepare the Surface
Applying a sealant or tack coat to the base of the pothole helps new asphalt stick. This step is critical to prevent the patch from separating or cracking again. Follow the manufacturer’s instructions on application and drying times if you use a commercial product.

Step 3: Lay Down Asphalt Repair Material
Before opening your asphalt repair bags, test how much material you’ll need by loosely filling the pothole with unopened bags. This helps avoid waste or needing extra material midway.
Open the bags and pour the patching asphalt directly into the pothole. Spread it roughly even with the surface using a 2×4 or similar flat tool.
If the asphalt feels too hard or solid, gently soften it with a flame torch. This makes spreading and tamping easier and helps the particles bond better.
Step 4: Prepare and Use the Hand Tamper
To avoid the tamper sticking to hot asphalt, pour a small amount of gasoline onto the tamper’s metal plate. Use gloves or a rag to spread it evenly. Be extremely careful not to spill gasoline on the ground or on yourself, as it is highly flammable.
Lightly tamp the asphalt first to shape it, then apply more pressure to compact it fully. Proper compaction removes air pockets and creates a solid, even patch.
Step 5: Bind the Asphalt Surface
Using a flame torch, gently heat the surface of the asphalt patch. This melts the top layer slightly and bonds the asphalt particles together for a seamless, durable finish. Move the torch evenly over the surface, do not linger too long in one spot to avoid burning.
Step 6: Curing Time Before Use
Allow the repaired pothole to cure for 3 to 5 days before driving over it or sealing your driveway. Asphalt needs this time to harden and set. Avoid any foot or vehicle traffic during curing.
Do not apply driveway sealer immediately after patching. Wait until the patch is fully cured, or the sealer may not bond properly.
Common Mistakes to Avoid When Fixing a Driveway Pothole
- Skipping cleaning: Dirt or debris under new asphalt reduces adhesion and durability.
- Not compacting properly: Insufficient tamping leads to a weak patch that breaks down quickly.
- Overusing gasoline: Gasoline helps prevent sticking, but it must be used sparingly and carefully.
- Rushing the curing time: Using the patch too soon ruins the repair and shortens its lifespan.
- Applying sealer too soon: Fresh patches need time to settle before sealing.
Avoiding these pitfalls ensures your repair lasts longer and keeps your driveway smooth.
How Long Does a DIY Pothole Fix Driveway Last?
A decent DIY fix to a pothole in Toronto will take a good 1 to 3 years to begin to falter, based on the usage by traffic as well as changes within the city’s climate. A quality preparation process combined with correct supplies will get your driveway ready throughout the changing seasons.
Toronto freeze-thaw cycles, especially in such communities as Scarborough, Etobicoke, or North York, can be taxing on asphalt. Repeated thawing and freezing cause potholes to enlarge, so it is logical to inspect your driveway regularly, at least once a year, to identify any new damage before it becomes larger.
If you want a longer-lasting solution, professional hot-pour asphalt repairs are good for 5 years or longer, which is ideal if your driveway is subjected to heavy traffic or you just want to have peace of mind against Toronto’s harsh winters. Keeping regular maintenance in the city’s diverse climate keeps small issues from becoming costly repairs down the line.
Long-Term Driveway Maintenance Tips
- Annual inspection: Check for new potholes or cracks in spring and fall each year.
- Early repair: Fix small issues before they become costly to repair later.
- Sealing: Seal with a quality asphalt sealer every 2-3 years to close the surface.
- Adequate drainage: Make sure water runs away from your driveway to prevent pooling and freezing damage.
Regular maintenance maintains your driveway in good condition and extends its life by years.
When to Call a Pro to Fix Pothole Driveway Issues
If potholes are very large (over 12 inches wide or deep), if you notice widespread cracking or subsidence around the hole, or if your driveway surface is failing overall, a professional contractor can provide more permanent solutions.
Fixing potholes in your driveway doesn’t have to be intimidating or expensive. With the right approach, tools, and care, you can fix a driveway pothole that lasts and protects your investment. Remember, thorough cleaning, proper compaction, and curing time are the secrets to success.
When you’re ready to take your driveway maintenance to the next level, professional services from Asphalt Sealing can provide long-lasting, guaranteed results using commercial-grade materials and techniques.
Taking control of your driveway care today saves you money tomorrow and keeps your home looking its best.